DIY Flower Wall with Hobbycraft
This is a paid partnership with Hobbycraft.
Whilst I live in a rented home, I want to make sure I can put my own personal stamp on it as much as I can. We’re lucky enough to have a very understanding landlord, as soon as we moved in the first room to be painted white was my office (and 4 weeks later, it’s the only room). Having a daughter my space gets less and less as she gets older, so I wanted somewhere that felt like mine as soon as I shut the door, and inspires me to get on with work. However I felt it was missing something, even after 4 coats of white paint! I’ve been all over Pinterest looking for more paint ideas, and then when I stumbled across this pin, I knew I had found the inspiration I needed.
A flower wall seemed like the perfect choice for my space, whilst also not being too permanent if I wanted to change it quickly. Although not sure why I would ever be taking these down anytime soon. Hobbycraft has a great selection of flowers, and colours making it so easy to bring the vision I had to life. Most importantly I could pick up everything I needed in one place to get cracking with it straight away, as we all know patience is not one of my strong points.


You’ll Need:
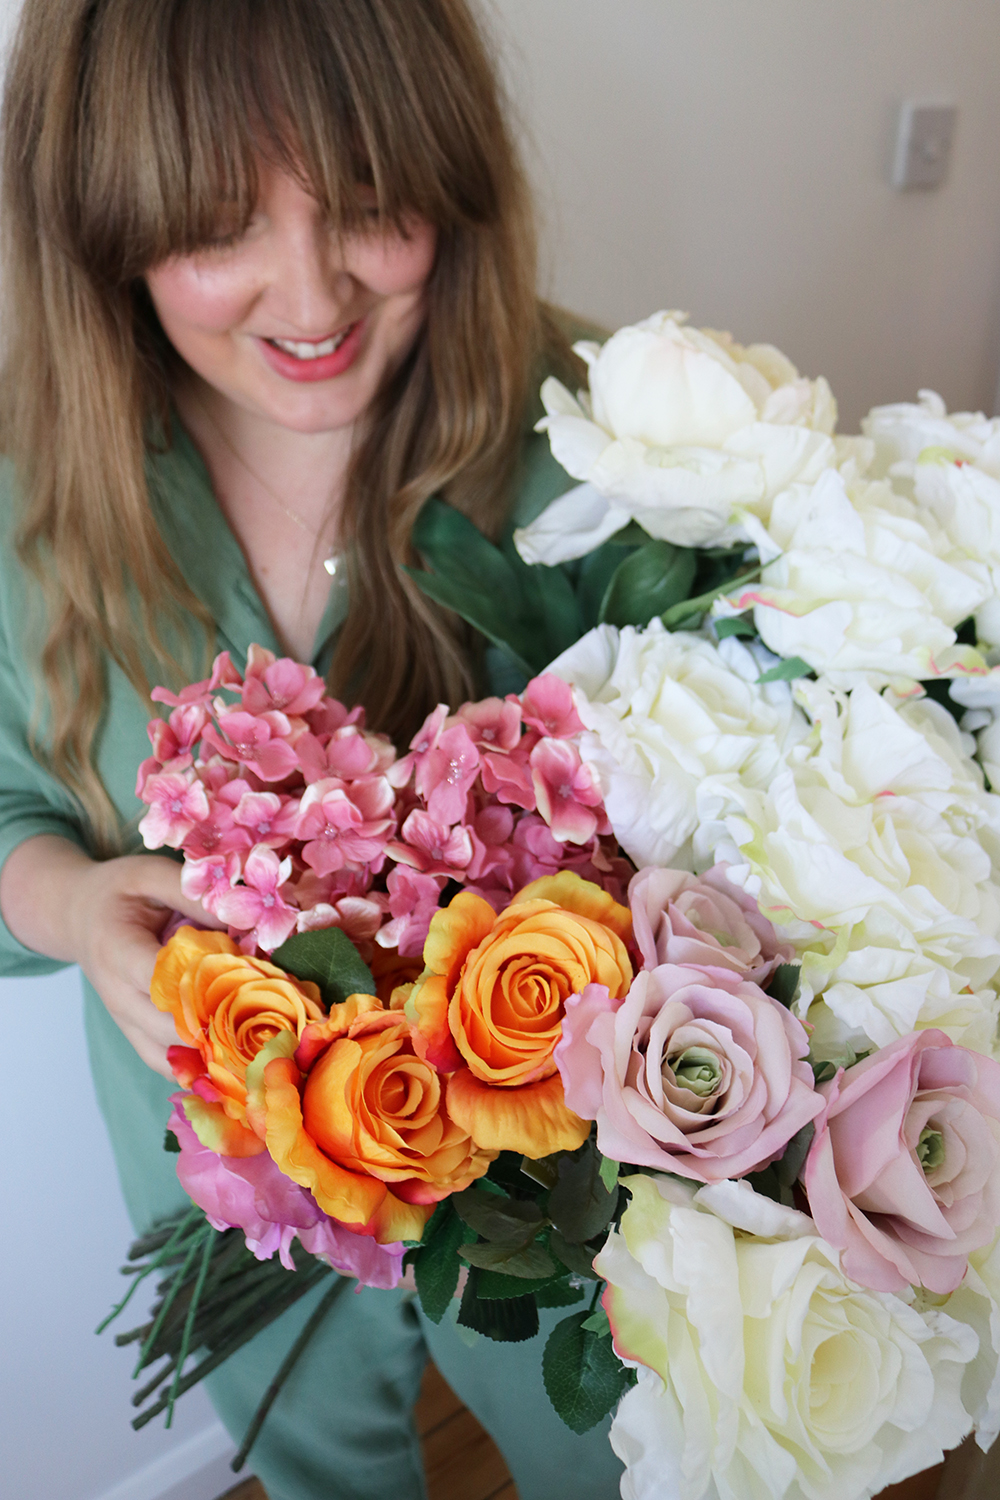
Fake Flowers (I have done 7 rows, with 7 flowers on each)
I used these: Coral Peony, Apricot Rose, Pink Mountain Hydrangea, White Sorbet Rose, Lavender Rose, Lilac Rose, Rose Leaves
Glue Gun
Heatproof Mat
Glue gun sticks
Wire Cutters/Scissors
To Hang:
Hammer
Nails
Paperclips


How to:
Lay out your first flower row before you start gluing them, this is so you can see what looks good together. Also, the peony heads actually have no stems, but the white roses have a really long stem so I always paired these two together and glued the peony head half way down the stem of the rose.
2. Once you are happy with the order of your flowers, check the spacing in-between the stems. You might want to remove some leaves from the stems, and I also cut a few inches of some stems with wire cutters to create the gap I wanted between each flower.

3. To start making your first row, get the first top two flowers (or bottom, whichever way you want to work) and heat up the glue gun. With the heated glue gun, carefully insert a dollop of glue inside the flower from the row that you’ve laid out. Then insert the stem of the flower that is going to sit above it, into the head of the flower where the glue is. Do not be tempted to squeeze the petals and stem together where the glue is, let it set on it’s own (the glue is VERY hot).
4. Repeat this process, until you have a whole string of flowers at your desired length.
5. Move onto to your next row, but lay the completed row down beside it so you can reference it as you go. This way you won’t have any two flowers the same, and you can roughly measure where each flower head should be. Don’t forget you can trim the stems to make them shorter.
6. Keep making rows of flowers, and laying the down besides one another so you can see how it will look when hanging it on the wall.


7. Now to hang it up on your wall, I individually tacked each row up with a slim nail, whilst having someone else tell me how they were spaced. This I found was the best option as you can control each string of flowers and create the perfect spacing. The nail is hid behind a leaf, and I used a paper clip to hook it onto the nail.
8. Step back and enjoy your handy work, and accept the compliments from visiting guests.


To recreate this Hobbycraft are offering you 15% discount on all purchases (excluding sewing machines and applicable online only) until 31/07/2018. Enter DIY15 at the checkout, visit their website for full T&Cs.